Moving Mondrian: Bringing Mondrian's art to life

Creative Coding

Moving Mondrian: Bringing Mondrian's art to life

Creative Coding

Moving Mondrian: Bringing Mondrian's art to life

Creative Coding

Overview

For this project, I was tasked with creating an animated output of an artwork using the JavaScript p5.js library. This project involved both a group and individual component.

My contribution

Code Development

The team

2 x team members

Me

Duration

2 weeks

Tools

Visual Studio Code

p5.js

The Concept

Brainstorming ways to bring Mondrian's artwork to life.

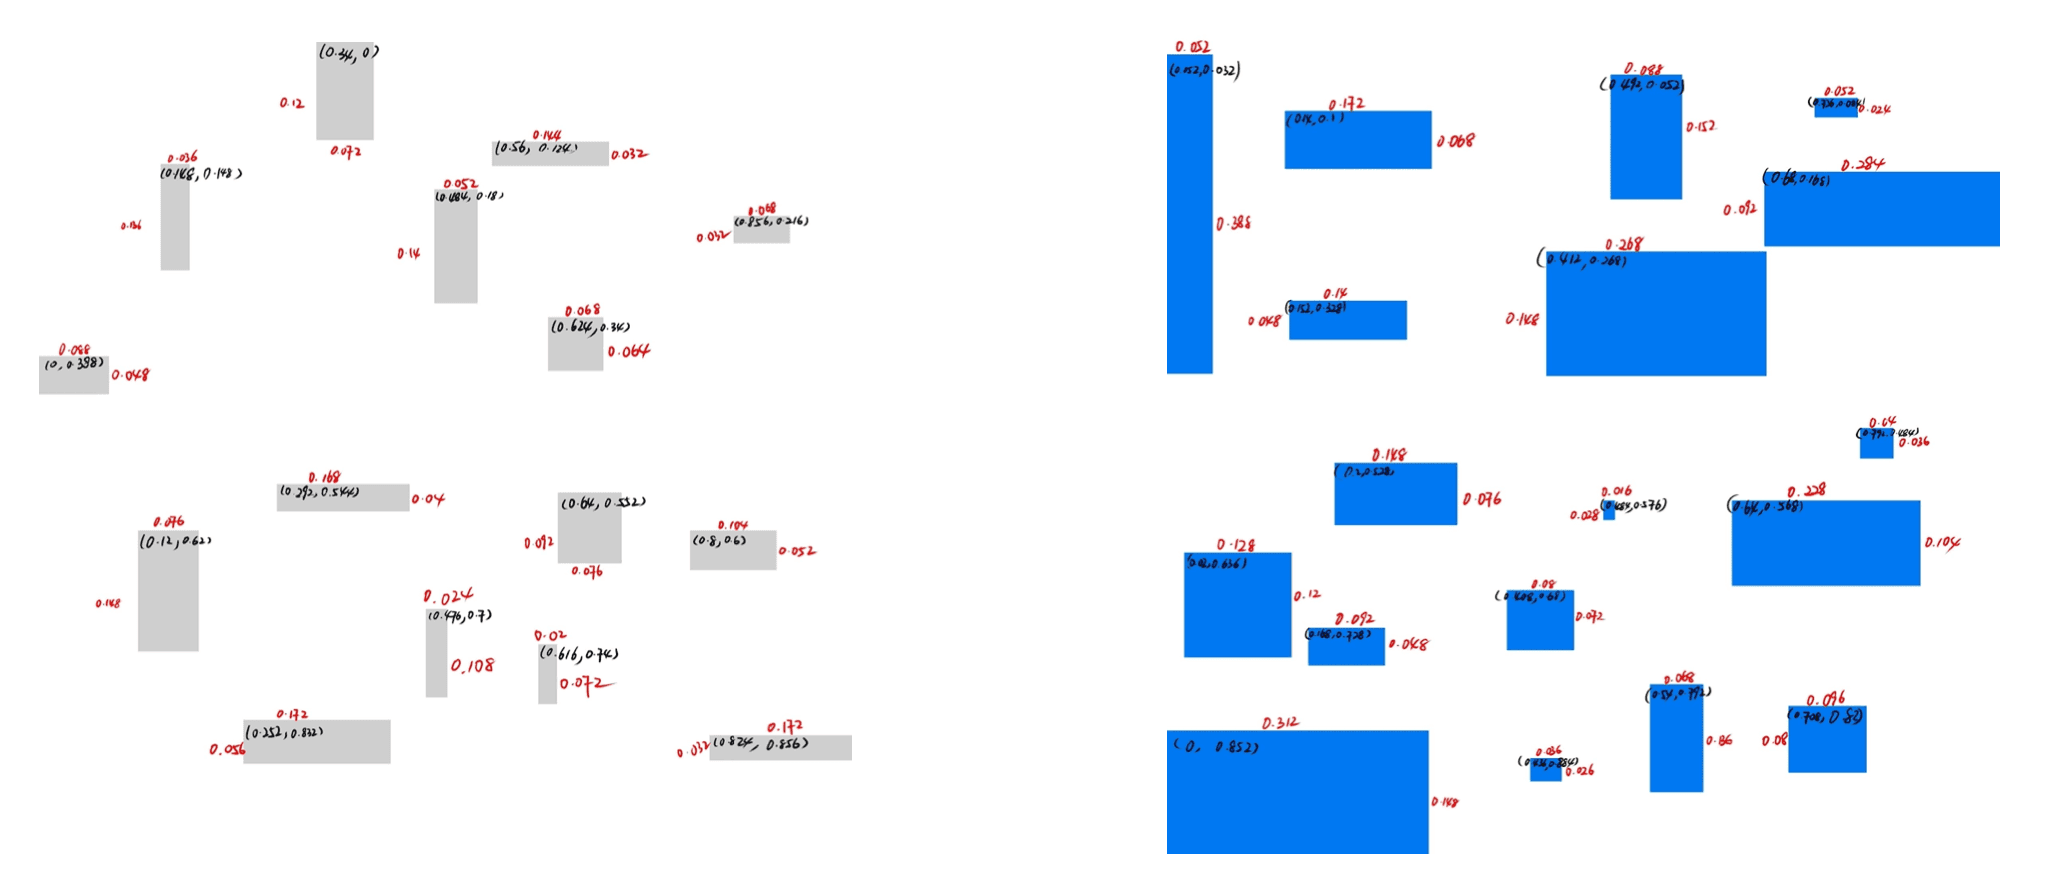
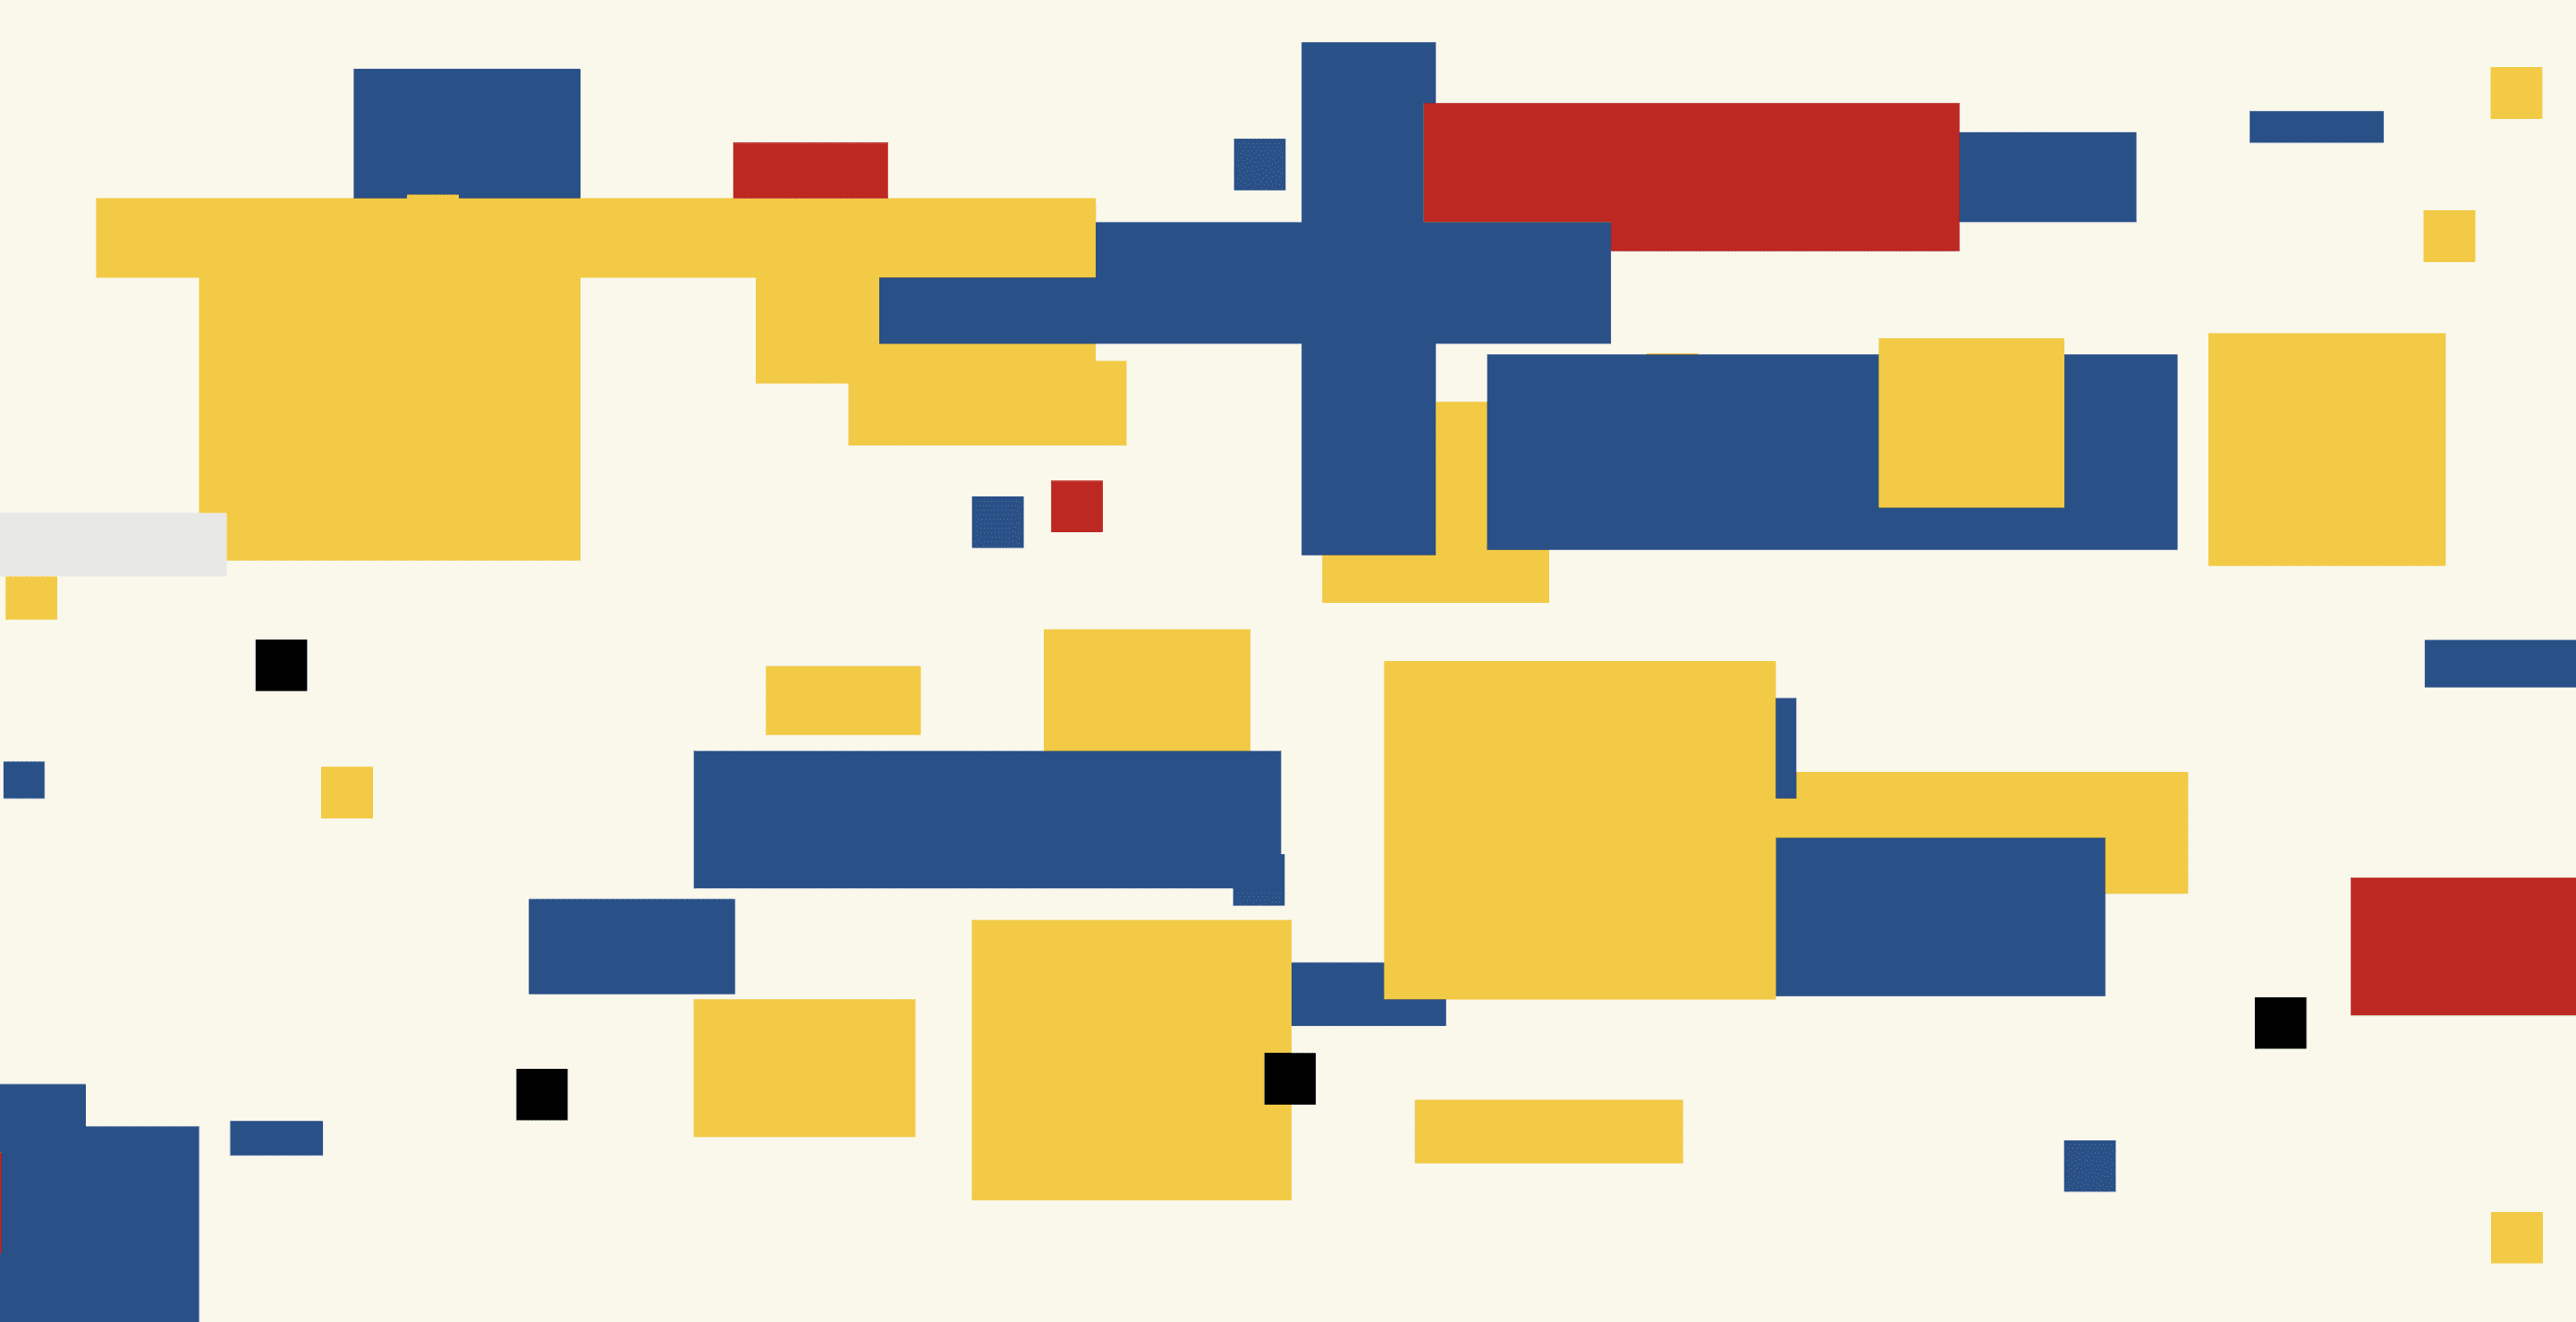
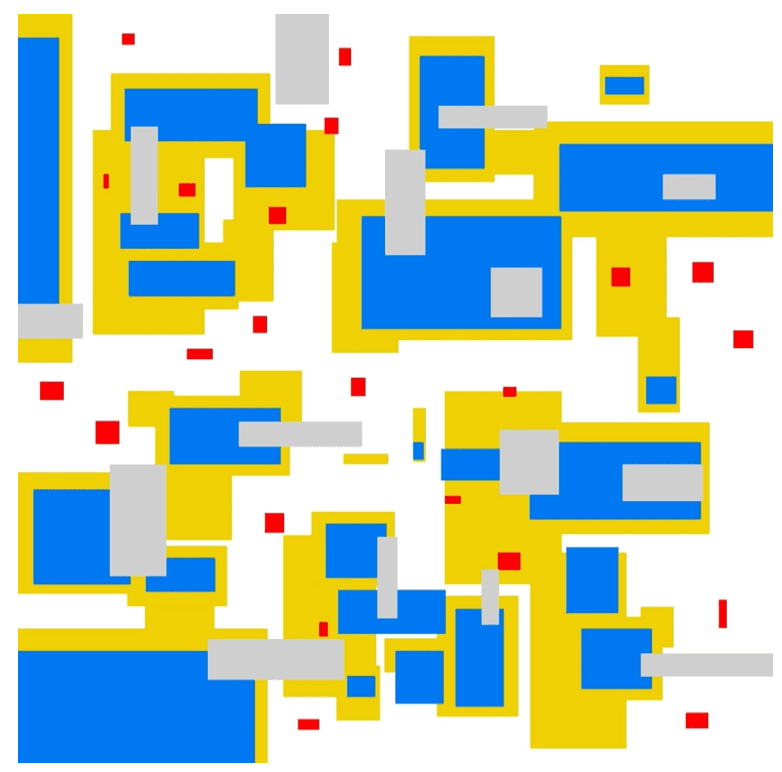
The artwork that was chosen was Piet Mondrian’s “Broadway Boogie Woogie”. As this artwork is characterised by distinct lines and geometric shapes consisting of rectangles, these will be represented through our code. As a group, we wanted to represent Mondrian’s artwork in a more abstract manner, whilst maintaining the overall geometric composition of the rectangles. This involved deconstructing the artwork into its different components by colour (i.e. yellow, blue and red rectangles), as shown below.

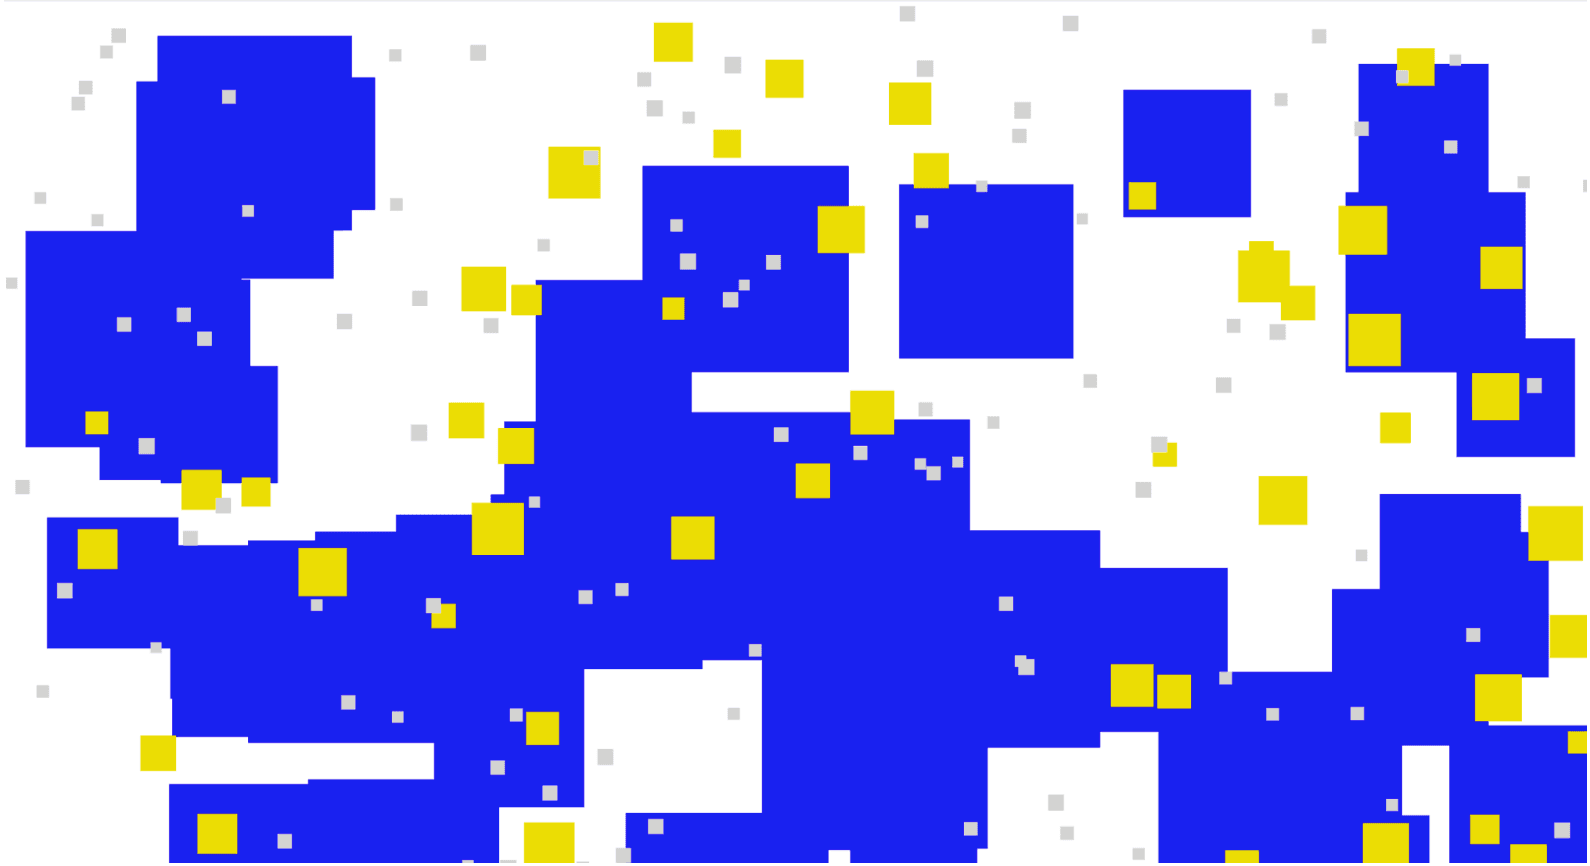
Each group member had an individual approach to animating the code. My design concept uses a time-based approach to move the different shapes across the screen. Mondrian’s artwork mainly uses geometric lines and shapes (i.e. horizontal, vertical lines and edges) and I am inspired to mimic the compositions through time-based movement. This time-based approach will also enable me to change the colour of the shapes over time, creating a different interpretation of Mondrian’s artwork. The purpose of my design concept enables Mondrian's artwork to be an immersive and unique experience

How?

Figuring out a way to code the concept.

My design was animated using frameCount and the Sine and Cosine functions in p5.js. These were used to create smooth oscillations over time.

How?

Figuring out a way to code the concept.

My design was animated using frameCount and the Sine and Cosine functions in p5.js. These were used to create smooth oscillations over time.

How?

Figuring out a way to code the concept.

My design was animated using frameCount and the Sine and Cosine functions in p5.js. These were used to create smooth oscillations over time.

Iterations

This was the first attempt at coding it….and iterating on it.

1st Iteration

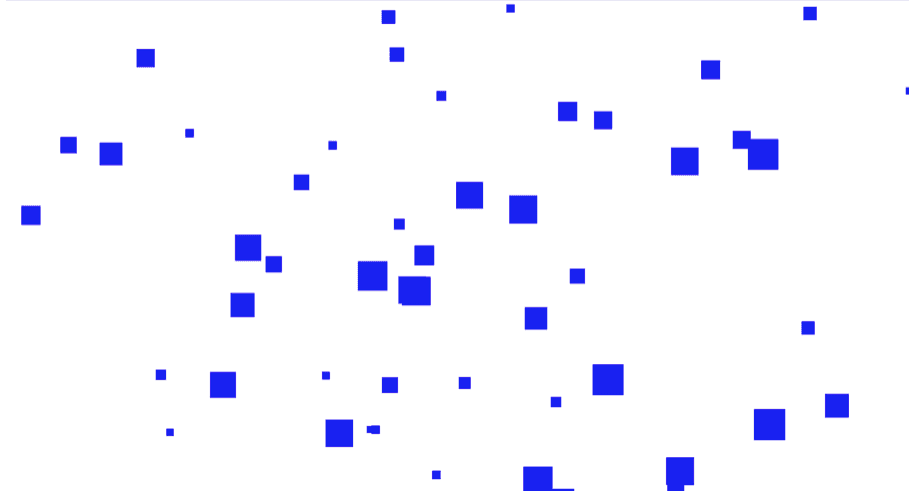
The initial iteration was focused on producing the overall structure of the artwork. To do this, we coded the rectangles in a randomised position on the canvas.

2nd Iteration

This iteration focussed on creating more rectangles of differing sizes and colours to emulate the design we had in mind. However, we realised that our code was not responsive to changes in canvas size and would have randomised positions everytime the canvas was resized due to the random positioning of the rectangles.

3rd Iteration

From our last iteration we realised that as the canvas resized, the positioning of the rectangles also changed. However, we wanted the rectangles to maintain the same positioning and size in relation to the canvas as it resized.

To do this, the ratio of the x-Position, y-Position and the width and height were calculated as a ratio of the window width and height of the canvas in Adobe Photoshop. These ratios were then coded to ensure that the position and and size of the rectangles were maintained the same as the canvas resized.

Additional changes included adding time-based colour change over time.

Final Concept

The final output.

See the final animated output below!
Final Concept

The final output.

See the final animated output below!
Final Concept

The final output.

See the final animated output below!
Hope to see you again soon!

Erica Zhang ©2024 to ∞

Hope to see you again soon!

Erica Zhang ©2024 to ∞

Hope to see you again soon!

Erica Zhang ©2024 to ∞